Love Script Bow Lettering
A Designer’s First Glance: Charm with Clear Intent
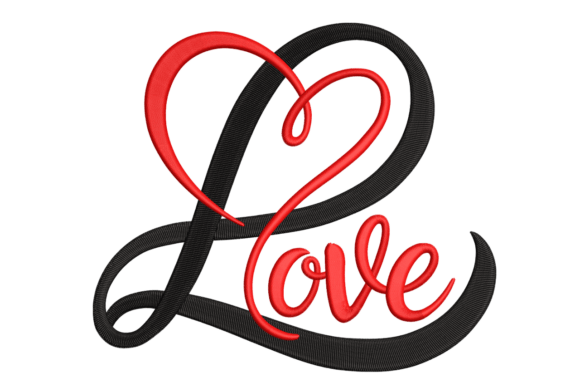
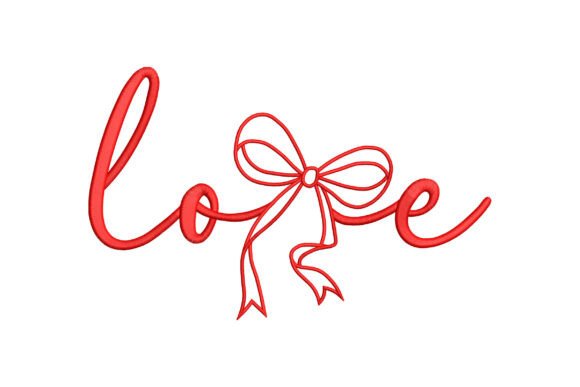
When Love Script Bow Lettering popped up in my design queue, I paused—not because it’s flashy, but because it’s quietly confident. It reads like a handwritten note tied with ribbon: soft curves, balanced negative space, and that signature bow tucked neatly beneath the “o” in “Love.” This isn’t just Valentine’s Day embroidery—it’s a gesture. The script flows without overcomplication, and the bow adds just enough visual weight to ground the phrase without crowding it. It feels handmade, not algorithmic. That matters—especially when you’re stitching for someone who’ll hold the finished product in their hands.
Where It Lives Best: Real Projects, Real Reactions
Last week, I used Love Script Bow Lettering on a set of linen tea towels for a local boutique’s Valentine’s launch. We stitched it centered on the lower third, in blush pink thread on oat-colored fabric. Customers kept picking them up, turning them over, smiling at the bow. That’s the sign: it doesn’t shout—it invites. It works beautifully on structured, medium-weight fabrics like cotton twill (tote bags), terry cloth (kitchen towels), and fleece-backed sweatshirts. On a relaxed-fit crewneck, it landed with warmth—not cutesy, not clinical, just sincere.
I also tested it on a baby onesie (100% cotton interlock) using lightweight tear-away stabilizer. The script held its shape, and the bow’s satin stitch stayed crisp—even after two gentle machine washes. That tells me this machine embroidery design has thoughtful stitch density: not so dense it puckers delicate knits, not so sparse it loses definition on looser weaves.
Where to Proceed Thoughtfully
Love Script Bow Lettering shines on flat, stable surfaces—but it’s not magic on challenging substrates. On highly textured fabrics like bouclé or thick terry loops, the bow’s fine details can blur. On stretchy jersey (think fitted tees), skip direct hooping; use cutaway + topping, and consider reducing stitch speed by 20%. And avoid placing it near seams or curved edges—like the front brim of a cap—unless you’ve pre-tested hoop alignment and fabric distortion.
It’s also not ideal for tiny hoops under 4x4 inches. The bow and lettering need breathing room—the full phrase measures roughly 3.5" wide by 1.75" tall at standard scaling. If you’re planning an embroidered patch or a minimalist cap front, scale down only after checking how the inner curves and bow loops hold up in test runs. Tiny lettering risks lost clarity; too much reduction can collapse the satin stitch paths.
Dark Fabric? Light Thread. Always.
This design relies on contrast. On navy or charcoal fabric, I recommend high-sheen 40-weight rayon or polyester thread—not matte cotton—in white, ivory, or pale gold. Why? Because the bow’s satin stitch reflects light differently than the script’s fill or running stitch outlines. A dull thread flattens that subtle hierarchy. Also, test your thread color against the fabric *before* hooping: what looks bright on screen often reads muted mid-stitch.
What It Adds Beyond Stitching
Using Love Script Bow Lettering isn’t just about placement—it’s about perception. On a personalized gift (say, a pillow cover monogrammed with a name + this phrase), it elevates the piece from “handmade” to “thoughtfully made.” Customers notice intention: the curve of the “L,” the slight tilt of the bow, the even spacing between letters. That builds trust. For Etsy sellers and small shop owners, that nuance translates directly to perceived value—and repeat buyers.
In boutique branding, it pairs cleanly with minimalist packaging and neutral photography. I used it in a printable mockup for a candle brand’s limited-edition Valentine set—stitched onto a muslin drawstring bag—and it read as cohesive, not cluttered. That’s rare for script-based designs. Many fall into “too fussy” or “too thin”; this one lands in the sweet spot: legible at arm’s length, charming up close.
Designer Notes You’ll Actually Use
- Always test on scrap fabric first—especially if stitching on blends, performance knits, or dark synthetics.
- Check stitch density visually: zoom in on the bow’s knot area. If threads look congested or overlapping unnaturally, adjust underlay or reduce density slightly.
- Confirm hoop size compatibility before digitizing or resizing. Not all machines handle tight curves equally well.
- Inspect small corners: the tail of the “e” and inner bow loop are detail checkpoints—if they fray or skip in testing, your stabilizer choice needs tweaking.
- Try black-and-white mockups before finalizing thread colors. What reads as romantic in color may read as busy in grayscale—important for catalog shots or social thumbnails.
- Use appropriate stabilizer: cutaway for knits, tear-away for stable wovens, and fusible + topping for nap-heavy fabrics like fleece.
- Verify licensing before selling finished items or bundling the digital embroidery file with other design assets. Commercial use isn’t automatic—even for holiday embroidery.
Final Thought: It’s Not Just for February
Yes, Love Script Bow Lettering fits naturally in Valentine’s Day collections—but don’t box it in. I’ve seen it reimagined as “Joy Script Bow Lettering” on Easter aprons, “Hope Script Bow Lettering” on NICU blankets, and even “Home Script Bow Lettering” on farmhouse-style pillow covers. Its structure supports gentle customization without losing integrity. That flexibility makes it more than seasonal decoration—it’s a reliable, emotionally resonant design asset for craft businesses building long-term product lines.
If you’re choosing embroidery files for client work, small shop merchandise, or your own handmade product line, Love Script Bow Lettering earns its place not because it’s trendy, but because it stitches cleanly, reads warmly, and stays memorable long after the hoop comes off.